
Seller guides • 6 min read
Professional Property Photography: Helping Your UAE Listing Stand Out
Commission photographs that make the layout, light and condition easy to understand. A useful listing gallery earns attention without changing what a buyer will find at the viewing.
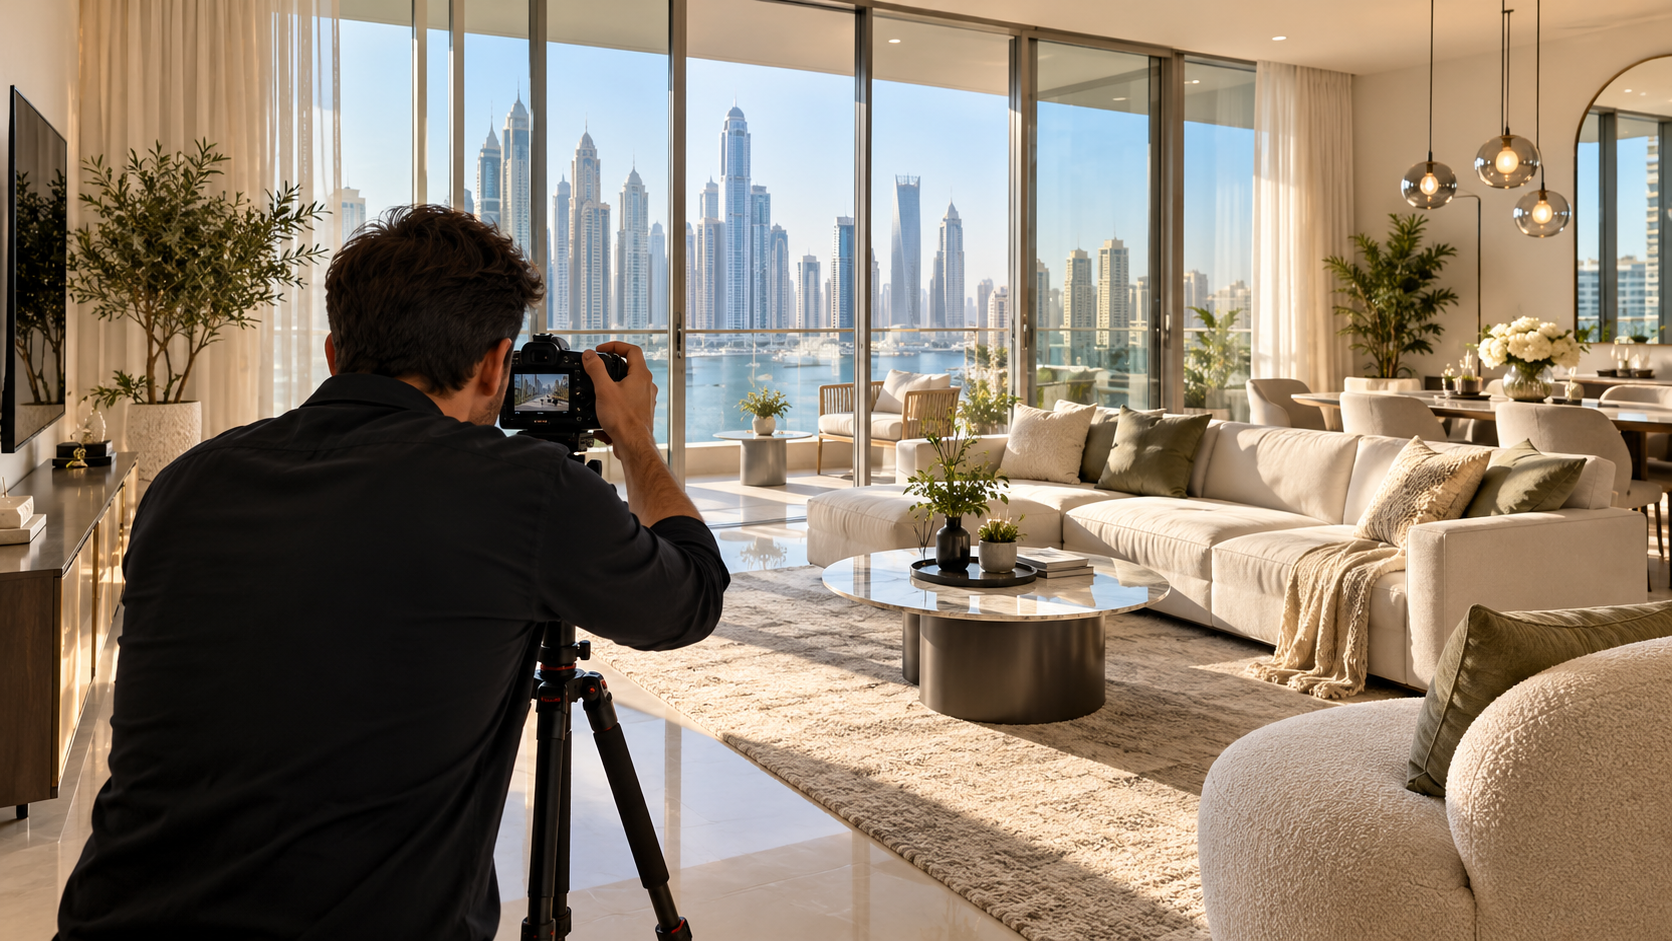
A beautiful photograph can earn a click. A useful set of photographs helps someone decide whether the home could suit them. Those are related jobs, but they are not quite the same. A gallery full of close-ups, dramatic windows and decorative objects may say very little about the rooms themselves.
Before commissioning a shoot, decide what the buyer needs to understand. The strongest brief connects the entrance, living spaces, bedrooms and practical areas into a believable account of the property. Presentation matters; so does leaving the photographer enough time and information to do that job properly.
01Write a brief that goes beyond the hero image
Start with the likely questions. Where is the dining area in relation to the kitchen? Does the bedroom have space around the bed? How does the balcony connect to the living room? Ask the photographer for a sequence that answers these questions, including connecting views where useful.
List important spaces that are easy to overlook: the entrance, laundry area, storage and parking arrangement. Some may need a photograph, while others are better explained in the floor plan or listing text. The aim is coverage that helps a buyer understand the home, rather than a fixed number of images regardless of its layout.
Discuss the intended uses before agreeing a fee. Portal images, a website cover and vertical social posts may need different crops. Confirm who can use the files, for how long, whether the broker can reuse them and what happens when the listing changes. Put the agreed deliverables and licence in writing.
02Prepare the occupied home before the camera arrives
Clean windows and reflective surfaces, put away laundry and clear enough worktop space to show the kitchen. Keep the rooms recognisable as places people can actually use. The separate home-staging guide covers furniture placement and practical presentation before the shoot.
Privacy deserves its own check. Look for family photographs, certificates, computer screens, letters, medication labels and identifying information on a child's bedroom wall. Move them before photography instead of relying on extensive editing afterwards. Agree access and permission with the occupants; a marketing appointment does not settle questions about entering an occupied home.
Have one person available to answer questions about the property and move small items safely. Confirm which fittings are included in the sale so the photographs do not create the wrong impression. If a room is temporarily inaccessible or repair work is unfinished, decide how that will be explained rather than quietly leaving a significant gap in the gallery.
03Ask for believable light and proportions
Watch how the rooms look at different times before choosing the appointment. Tell the photographer when direct sun makes a room difficult to photograph or when the view is obscured by glare. Access to a terrace or shared facility may also affect the schedule, so check it in advance.
Adobe's real-estate photography guidance discusses mixed lighting and keeping the camera level to avoid distorted verticals. Those are useful technical considerations: inconsistent light colour and leaning walls can distract from the space. Leave the photographic settings to the professional, while agreeing that the result should represent the room fairly.
Review wide views carefully. A photograph should help explain a room without making a narrow passage look like a generous living area. Ask for another angle if the proportions feel implausible. Retain a normal view of the window outlook as well as any detail shot; the surroundings are part of what the buyer is assessing.
Swipe or use arrow keys to view all columns.
| Space or detail | Question to answer | Useful coverage |
|---|---|---|
| Living and dining | How do the main activities fit together? | A clear room view and a connecting angle |
| Bedrooms | What furniture and circulation fit? | An honest view of the usable space |
| Kitchen and service areas | How does the home work day to day? | Work areas, storage and relevant connections |
| Outside space | What can the occupant actually use? | Access, proportions and the real outlook |
04Build a sequence with a clear beginning
Choose a lead photograph that represents the property well at the small size used in search results. It might be the main living space or an exterior with a clear connection to the home. Avoid selecting a spectacular shared facility if it leaves viewers unsure which property is actually being offered.
Arrange the following images as a sensible walk through the home. Show a room before its details and keep repeated angles to a useful minimum. A photograph of a tap is rarely more helpful than a missing bedroom. If the property has several similar rooms, identify them accurately so the gallery is not mistaken for multiple views of one room.
Shared facilities need clear captions and appropriate permission. Explain that a pool or gym belongs to the building or community rather than the private unit. Recheck the sequence on a phone, where excessive repetition is especially noticeable and the first few images carry much of the explanation.
05Set boundaries for editing and virtual staging
Agree what the editor may change before the files arrive. Correcting exposure or removing an accidental colour cast is different from removing a building outside the window, enlarging a balcony or hiding damage. The latter changes can materially alter what someone believes they are viewing.
If digitally furnished images are used, label them clearly and provide an unaltered view of the same room. A proposed layout should not imply that furniture is included or that an alteration has approval. Keep the original files and a record of which versions are being used in the listing.
Inspect the final images beside the property fact sheet. Check views, fixtures and captions, not just whether the pictures are attractive. If the home changes after the shoot, update the relevant images. An older gallery showing furniture or a condition that no longer exists should not remain the only visual account of the property.
06Approve the listing as a complete package
Photographs work alongside the written description, floor plan and viewing arrangements. Compare them before publication so the same room count, occupancy status and included items appear throughout. Our guide to planning property viewings helps connect the online presentation with the visit itself.
In Dubai, DLD's Madmoun announcement explains the QR-code service associated with real-estate advertising permits. It gives consumers a way to check authorised advertisement information. Have the responsible broker confirm the current advertising requirements; a polished photograph does not replace that process.
Keep approved files together with their captions and usage permission. Give the broker one final gallery rather than several unlabelled revisions. After publication, inspect both mobile and desktop versions for crops that cut off important features. If questions repeatedly concern a room the gallery barely shows, improve that coverage instead of adding more decorative photographs.
Sources
Research reviewed 30 October 2026. Publication dates and measurement periods are provided with each source.
- Adobe: real-estate photography guidanceTechnical guidance checked 30 October 2026
- DLD: Madmoun advertising-verification announcement18 April 2023 announcement; checked 30 October 2026
Property costs, ownership and contract terms vary by home. Speak with Aliyas about the details relevant to your search.